Knitty Batty

Started to show friends a new pair of shoes, but expanded to include updates on my knitting and important events, as well as ramblings on life, the universe, and everything. (If you can't see a picture, click on it to make it bigger!)
Showing posts with label sewing. Show all posts

Sunday, July 17, 2011

I'm Impressing Myself

More Crafty Updates.  I must say, for as much as I am usually very slow about actually finishing projects, I am very proud of myself today.  I have been quite productive.    :)

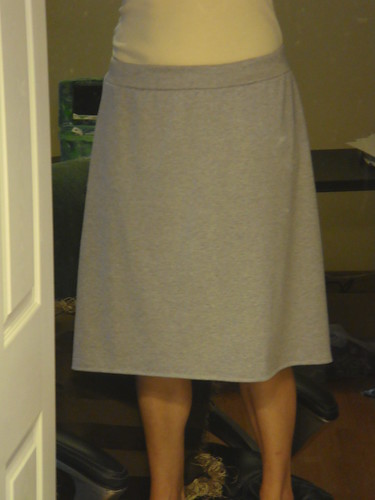
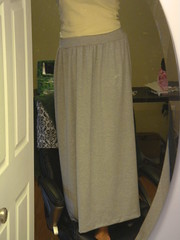
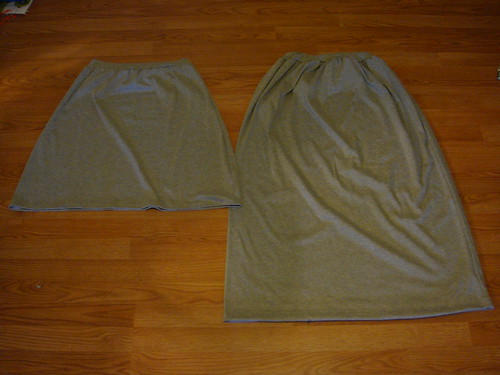
1)  Over Memorial Day weekend, I bought fabric to make several skirts.  The shiny silver skirt was one project, but I also bought plain grey jersey knit to make a maxi skirt.  I usually don't cave to the whims of the fashion world (that's right, there are no skinny jeans in this girl's closet), but I keep seeing my coworkers in long dresses and skirts and they just look so comfortable!  I didn't get a pattern and planned on just making it up as I went along... when I eventually got around to it.  Well, I finally pulled the jersey out today, and after a little internet research, started sewing.  I got two yards of 56" wide jersey because I wasn't sure if I needed to insert gores to make the circumference bigger than 56" down at my ankles. It turns out, 56" is plenty big enough to walk comfortably in AND that meant there was enough leftover "tube" to make a shorter skirt.  Yay for options!
DSC02358

DSC02357     DSC02355
Yes, I am standing on my chair to take a picture of my skirts in the bathroom mirror.  Don't judge.

I kept the longer version fuller and just gathered it in more at the waist.  I purposefully chose to slim down the shorter version. (Though if I had to do it over again, I would probably slim the maxi as well, but it doesn't bother me too much as it is now.)  I also wrapped elastic twice around the waist in the maxi version and only once in the short one; that's just due to the weight of the fabric in the maxi pulling downwards.  I definitely don't want my clothes falling off my body in the middle of the day!


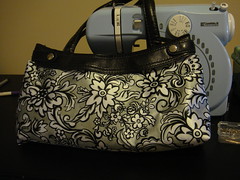
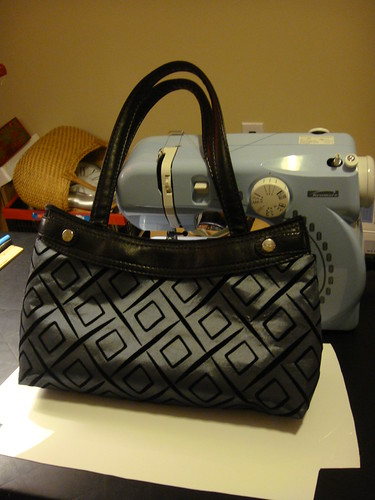
2)  While I was feeling crafty and productive, I pulled out the 31 Purse Skirts that I have stashed away.  I feel like I did more work than what is showing in the Finished pile, but I did get two more slip covers done.  :)   It took my less than an hour to sew both of them!  Go me!  (Recognize that silver fabric?  Haha.  Waste not, want not!)
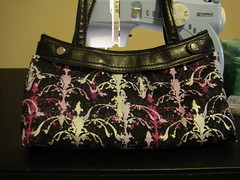
Thirty-One Skirt       Thirty-One Skirt

I also had a brainstorm that may save me space in the long run.  I am quickly amassing numerous covers for my purse, and I believe they may soon get out of control.  But!  If I start making them reversible, then two slip covers will take up the space of just one!  Genius!!
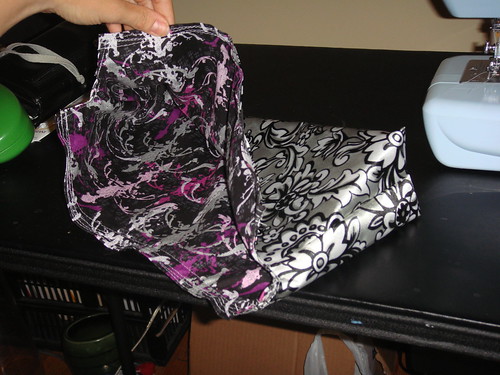
Thirty-One Skirt
The purple design in this picture is more true to color than the one above.

I say I did more work because I really DID do more work than what ended up in the pictures.  I went ahead and cut out all the fabric I had (enough for about 10 more, if I remember correctly), and then I ironed the fusible interfacing to them.  Now I have all my fabric cut and prepared for when I have a crafty mood but don't feel like running up to the ironing board.  :)  Winks may have helped me cut all the fabric.
DSC02359

Sunday, July 10, 2011

More Finished Craftiness

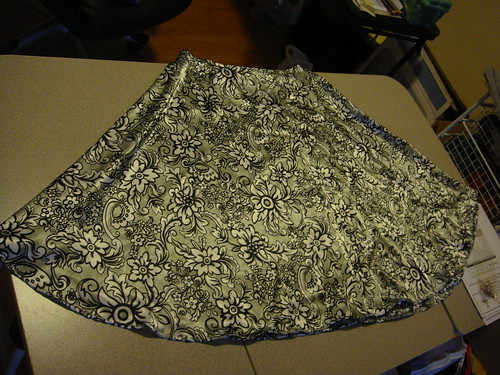
This circle skirt has been sitting on my sewing table for a while.  I had to walk away from it for a bit because it was angering me.  First, why do patterns say "for a 36 inch hip, make size 14" ... only to have a size 14 be SUPER HUGE?! There was literally room for another person in the skirt with me when I first pieced it together. Made me angry to waste time repeatedly taking in the side seams to make it fit.  On top of that, the fabric was too slinky / silky / slippery for my skill level.  Hemming was a pain and I really need to iron it, but it's done now!  And I even remembered how to put in a zipper!  I still think it's a little long, but (again) I need to step away before I get angry and do something I'd regret.   :)   Apparently, anger fuels my craft projects.  Haha.

DSC02353

Oh! I also put a pocket in my pajama pants so I can carry things on lazy days.  :)  I think it's working quite nicely so far today.

Sunday, May 8, 2011

Happy Mother's Day!

At my own mother's request, I will post some pictures here.  She wanted to see my fabrics and didn't feel like hunting through my Flickr account, I guess.  (Don't worry, Flickr is a bit unwieldy if you are looking for a specific picture.  Great for browsing, though.)  LOVE YOU, MOM!  Here you go:

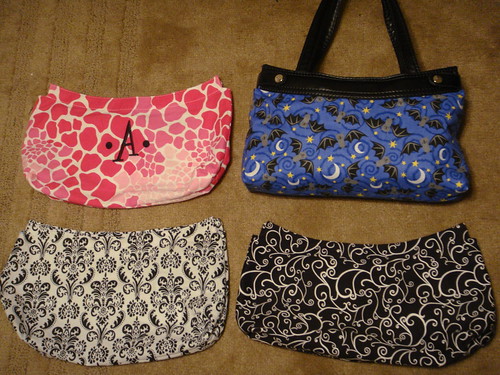
The first batch of bags I made...
31 Skirt Purse
More 31 Skirts

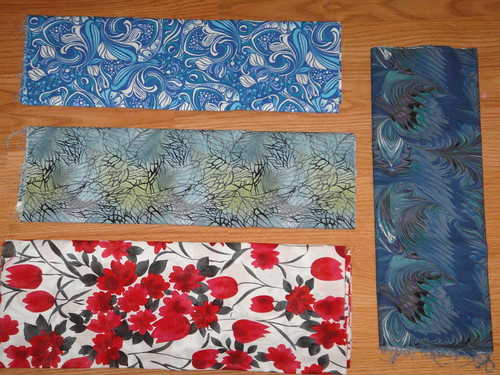
The fabric I got the first time to the store...


The fabric I got the other day....
31 bags

Saturday, May 7, 2011

Purses

I have had a few requests for the pattern for the Thirty-One skirt purse slipcovers, and honestly, I have been trying to figure out where the boundary of copyright infringement lies.  I know I joked about that earlier, but I don't wan to be helping people hurt a company that I like.  If you are going to make a few covers for yourself, maybe some as a gift, I have no problems with you using my pattern.  However, there will be a special hell waiting for you if you use my pattern to sell covers on eBay.  I do not allow permission for that.  I personally do not own this pattern, nor do I make money off of it; neither should you!  (end of legal disclaimer)

Admittedly, this pattern is pretty fast and loose.  I opened the seams of a skirt cover that I bought, and then traced it out on paper before transferring to the PVC.  I really do just wing it each time I make a new cover.  (Sorry to those who were expecting detailed instructions.)  But, I've measured out my pattern for you, and it should be fairly easy to recreate onto your own piece of paper.

I know not all the measurements add up (since when does 14.75 + 1.75 + 1.75 = 18?!), but that is what my pattern says.  Don't worry about it; the seam allowances are pretty big (more like 3/8in than 1/4in) and it doesn't have to be a perfect fit.  (The small black dashes in the corners in the picture are the seam allowances.)  I often trim the cover down a bit to make it more snug on the purse; I don't like it to be baggy.

Extra Notes:  I have found that plain ol' quilters cotton (such pretty patterns!) works well with fusible interfacing on the backside.  A stiffer material is easier to form into the right shape and also will be more durable and long-lasting.  I also haven't added any hook/ bars fasteners to my covers.  I try to make the top opening a little snug and just count on the magic of friction to keep it on.  (I also don't feel like going through a pack of fasteners for each cover.)

Basic Instructions:
1. Sew bottom seam.
2. Sew up side seams.
3. Fold bottom corners and sew seams.  Congratulations! You now have a basic bag!
* Check for fit on your bag - adjust side seams if cover is "baggy."  Measure how "tall" your cover is on the purse; you may need to cut down the top corners if they are too high.
4. Fold (tiny!) seam allowances in top corners and sew seams around notched corner
* Check for fit again.  Measure how much to fold top seam down.
5. Fold top and sew seam.  Run second line of stitching for strength.
6. Add bars (4 on each side) if desired.

Sunday, April 24, 2011

Craftiness!

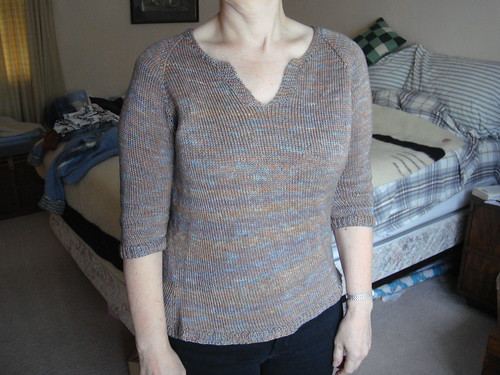
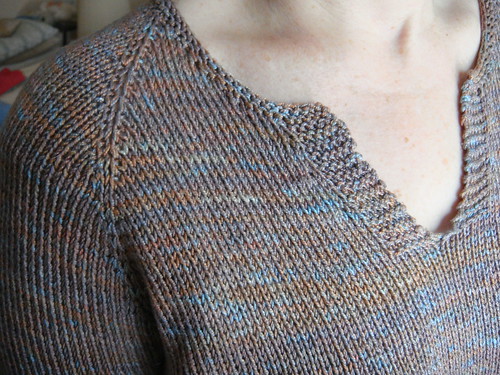
I finally got Mother to stand still long enough in her sweater so I could take a picture of it.  I made this about 2 years ago, as one of my first "garments that isn't a hat or scarf."  I was determined that it would fit her and be gorgeous... so needless to say, I was not happy at her losing weight while I was knitting!  I ripped this sweater apart so many times it was ridiculous.  So! I am happy to finally post a picture.

Mom's Blue Heron Sweater

Mom's Blue Heron Sweater
Blue Heron Yarns, Egyptian Mercerized Cotton (2,000yds / skein) Color: Canyon
Knitting Pure & Simple #257, Split Neck T-Shirt for Women
Raveled here.


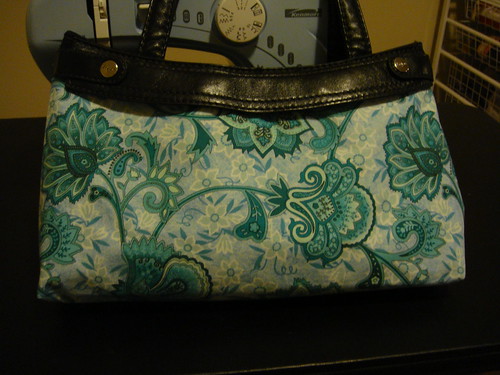
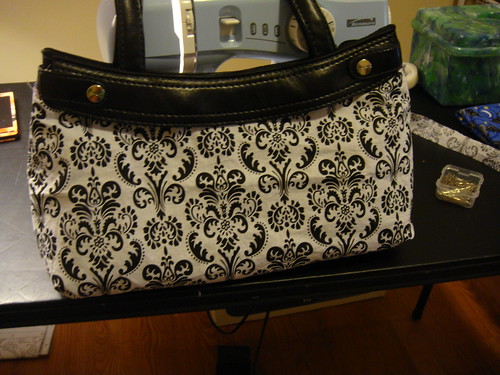
And because they are so easy to make, I've churned out a few more 31 Skirt Purses!  I feel so good about myself that this is working as I envisioned it!  Normally, my craft projects don't go NEARLY so well.

More 31 Skirts
DSC02191

Sunday, March 20, 2011

Copyright Infringement?

I finally sat down and reverse engineered my Thirty-One Skirt Purse this weekend!  It definitely wasn't as hard as I thought it was going to be!!  I made a permanent pattern (heavy-duty, made from PVC), finished two new skirts, cursed minimally, destroyed nothing, and gave up not once in several hours!!  ... I know I am using a lot of exclamation points, but I am really excited.  :D   A sewing project where I don't curse the paint off the walls, destroy my project, or give up (usually with a strong desire to light the project on fire) is a rare occurrence.  I have the basic sewing skills needed to get me through life; it is neither easy nor relaxing for me to tackle a tricky project.  BUT!! This one worked!

31 Skirt Purse
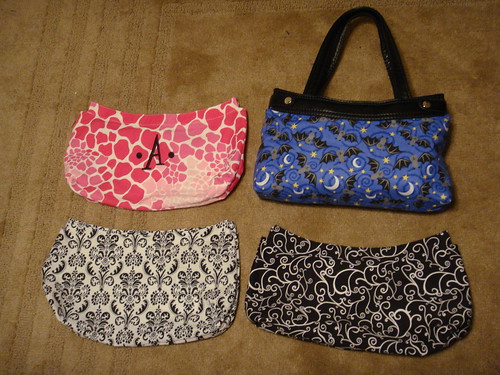
Here are all the skirts I have now.  I think I've decided to become the crazy lady with the seasonal bags.  It's so easy to change them out!

I measured the fabric needed to make one skirt, and it takes less than 1/2 yard of 44inch wide fabric.  That means even expensive fabric is not expensive to buy for this project.  First, though, I used some of the left-overs from making the comforter cover a few weeks ago as a "test run."  I didn't want to ruin anything as I worked out the kinks of the pattern.  Though, I think it looks awesome and I'm keeping it as a real skirt, not just as a mock-up.

31 Skirt Purse

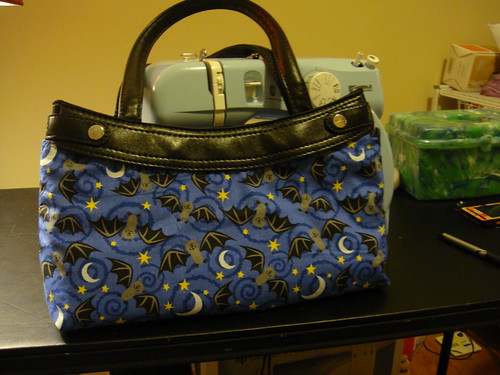
After the test run, I drew my pattern onto the PVC and cut out a permanent pattern.... that will last forever!  (John brought me the PVC scrap from his work for another project of mine, but there was enough extra to make a pattern for the purse.)  Then came the real question: could I make a functional skirt from the pattern I had just made?  I had found in my stash this cute bat fabric and wanted to show it off for all my caver friends next month.  This was the main focus of the afternoon...  and I think I succeeded!

31 Skirt Purse

As I said before, I think I'm going to start accumulating half-yards of fabric to make as many skirts as I can.  Change my purse every few weeks!  It's only copyright infringement if I sell the pattern, right?  Maybe I should look into that.   :)  To counterbalance, let me say that you should look up your local Thirty-One consultant (like Tupperware, Mary Kay, or Pampered Chef) and see the great bags they have!  It's delightful!

Sunday, January 30, 2011

Comforter Cover

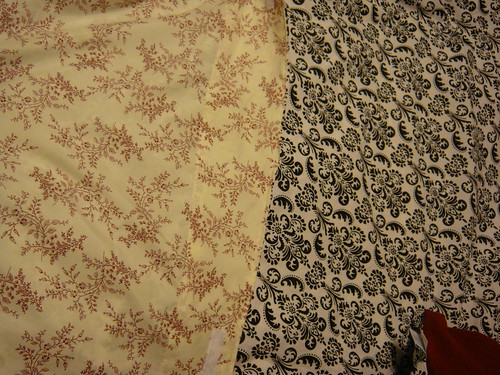
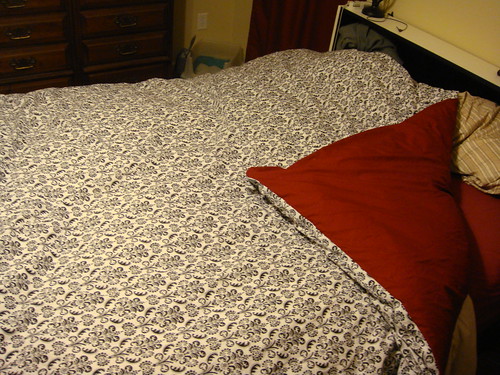
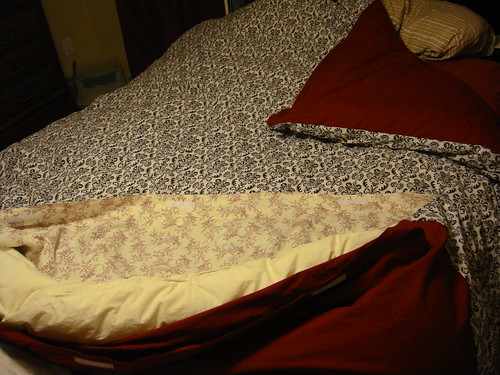
A while back, we upgraded our bed to a queen-sized mattress... which, of course, meant that we had to get all new linens and things to fit the new bed.  :(   However, Mom had an extra down comforter at her house that she did not use, and she brought it to us over the holidays.  (Thanks, Mom!)  Unfortunately, Mom had no cover that matched our color scheme, which meant that we went shopping for sheets and /or fabric to make a cover that matched our room.  I couldn't find any sheets that were exactly what I wanted, so I came up with the idea of getting two prints and making it reversible!  We got a printed sheet and then several yards of quilting cotton to finally make me happy.

Comforter Cover

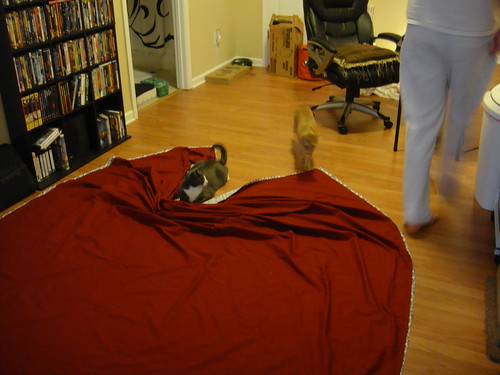
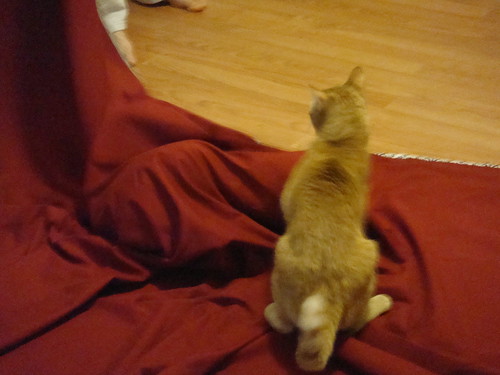
I knew that making the cover would only be "hard" because of the size.  Blankets and such have to be laid out on the floor and constantly tweaked to make sure that all the layers are straight.  It's not like a garment that you can grab both sides and tug to make smooth; blankets involved one contortionist or two people to arrange!  Needless to say, the kitties LOVED the new toy I put on the floor for them.

Comforter Cover
Sliding into Home Plate.  "Am I safe?"

Comforter Cover
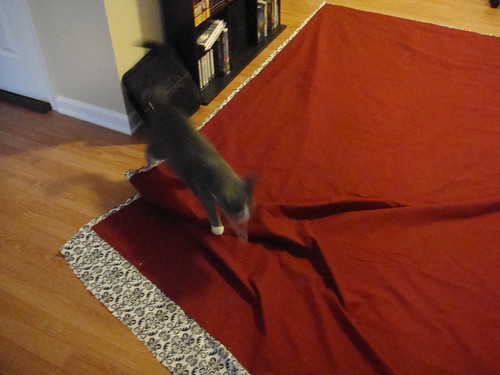
Leap! and Pounce!

Comforter Cover
Kitty on top vs. Kitty underneath

We finally ended up putting the kitties in "Kitty Jail"  (i.e., the bathroom behind a shut door) so that I could finish the stupid blanket!  Though it took me all afternoon (but really, what sewing project does not?), I am very happy with the outcome.  I think the cover looks great!  Even John was impressed when he saw the finished product.  :)


Sunday, August 17, 2008

Q is for...

Q is for Quiltie! John has two quilts from his childhood that he loves to death ... literally. One of them had ripped so badly that he kept sticking his feet inside the quilt against the batting (think of a quilt as a sandwich in three layers: a backing usually of muslin or cotton, fluffy batting, then the decorative top layer). Quiltie had degraded so badly that the batting was not attached to anything inside the quilt, so it was very clumpy and tattered. But because Quiltie was almost as old as he was, John had gotten it broken in and perfectly snuggly... needless to say, he refused to stop using it. I finally got sick of him ripping Quiltie, so I stole it and took it home to fix it up.

All in all, my first foray into quilting wasn't too bad, and I had lots of advisory help from Grandma Nancy who can make heirloom quilts in her sleep. Quiltie was just a tie quilt, so it was quite easy to take apart. First, I turned my attention to the top layer. I had to snip all the dangling strings and frayed edges on the inside that were tangling with each other into big knots. Then, I had to fix all the rips. Thankfully, most were along the seam edges, so they were easy to repair. There were only three rips in the actual fabric, so there was little need for much Frankenstein stitching. A little zigzag stitching and some fusible interfacing fixed everything. It won't be entered in any quilt shows anytime soon, but for a snuggle blanket, I think it does quite nicely. :)

The problems came in the next phase of reconstruction: Putting the layers back together. The batting was so damaged, it got thrown out. The new batting wasn't a problem; I tacked it down to the old muslin so it wouldn't slip around. The issues arose with the new muslin I got to make a new backing (I was upgrading Quiltie to a four-layer sandwich for extra durability). I had gotten only a little more muslin than exactly as much as I needed... problem #1 in sewing. Always, ALWAYS get more than you think you need. Even when you have already gotten a little more, get a little more!

So, my muslin, when washed, was about 4-6 inches shorter than the length of the quilt and I nearly flipped out. Mom sent me out of the house to cool off (I sometimes get angry when sewing, and then the project somehow gets out in the road... lit on fire... I don't know how that happens), and she washed the top layer, seeing if she could get it all to work together. When I came back, we were determined to get everything to fit together. After many repetitions of "no, it goes this way" (it's hard to arrange four layers of a quilt that is almost a square), we finally got everything close enough to call good.


With a judicious amount of pins (we were NOT going to let the quilt slip apart), Mom and I got everything secured. I decided to actually quilt it, instead of tying it again, just to make it extra secure. Quilting the layers gives less room for the layers to shift against each other, and thus there will be less wear and tear on the fabric. (In case, you hadn't noticed, the main reasoning behind everything I did to Quiltie was "Make it extra-strong so it won't break again!") So I was quilting, and Mom ran out to get some bias tape to use as blanket binding to make a clean edge around the quilt. That was quick and easy, since I had made a fleece blanket in the past with blanket binding edging. Then, voila! Quiltie had been turned into Super Quiltie!

I brought Super Quiltie back to John, and he was thoroughly impressed. He had been living with only one snuggle quilt to split between the bed and the couch, and he was very happy to have Quiltie back, especially in its new and improved state. I felt good that it all worked out, and Quiltie felt much better too. A successful project, indeed. :D